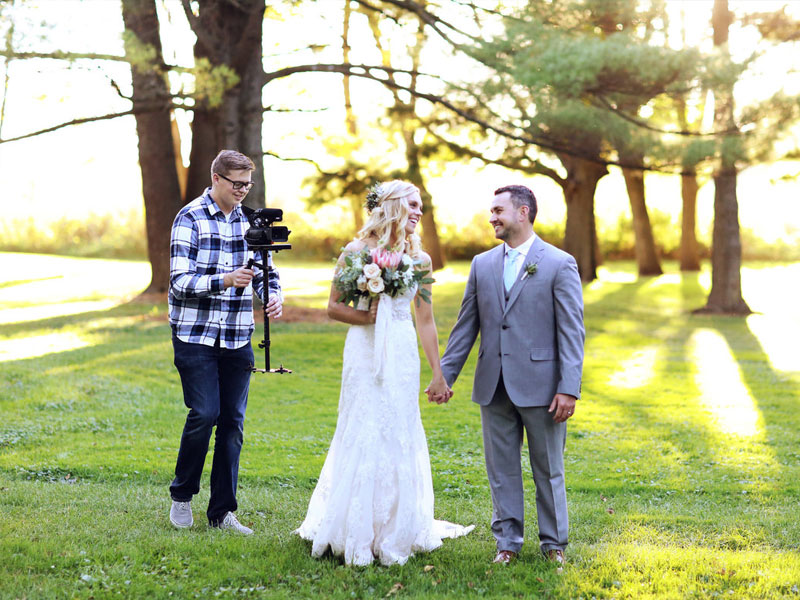
Shooting documentaries is part technique and part instinct. Depending on the type of documentary you’re shooting, you may have to shoot on the fly “following the action” or everything may already be planned out in advance — for example a historical documentary where you’re shooting a lot of “talking head” interviews.
No matter what type of documentary or video you’re shooting, here are some basic tips to follow.
1. Steady Eddie – Keep the camera steady. If possible, use a tripod. Don’t constantly zoom in & out or pan right to left. In general, you want to record at least :10 of each shot. Let the action in the frame speak for itself. You will thank yourself once you’re back in the editing room.
2. Wide, Medium, Close-up – For every scene or event you’re shooting, make sure to get different angles so that you’ll have choices in the editing process. For example, if you’re videotaping a protest, get the widest angle possible (perhaps on top of a building looking down on the crowd), then get close-ups of the faces in the crowd and then some medium shots of people from the ground level. Again, don’t forget the :10 rule for recording each shot.
3. What’s in the background? – When you’re shooting an interview or a speech, make sure to notice what’s in the background. You can either move the camera to get the best angle, move the subject in front of a good background or create a new background. Ask yourself, does this background “support” this story visually?” Is it a good backdrop for what is being discussed?
4. Timelapse – time-lapse is one of the most visual and fun ways to capture an event or story. Before heading out for a shoot, think about whether the story could lend itself to a time-lapse shot. Various video cameras these days are equipped with special time-lapse settings. If they’re not, just set the camera up on a tripod and let it roll. You can always speed up the footage in editing later.
5. Lighting – The same rules that apply to photography, apply to videography. Always make sure your subjects are well lit (but please, not “over-lit”). As an example, don’t put an interview subject with their back to the sun. Or don’t put them under a shady tree with a bright scene in the background.
6. Anticipate action – This is one of those lessons that almost cannot be taught. It’s a skill that develops instinctively the more you shoot. Once you miss a few “money shots”, you’ll learn to start paying attention. A simple example of this is a baseball game. If you want to capture a player hitting the ball, you will need to anticipate that moment and begin recording a few seconds or minutes before. Once you realize the ball has been pitched, it’s too late. You’ve missed the moment.
7. Frame it like a picture – This is where artistic expression and style come into play, but in general, utilize the standard framing styles and rule of thirds in photography.
8. Where’s your mic? – Many amateur videographers or budget filmmakers don’t have the luxury of having an audio tech to hold a boom mic for them. Often the case in budget filmmaking, you are relying on the mic on top of your camera for sound. If that is the case, you will need to always be conscious of where that mic is relative to the sound you are trying to capture. If someone is talking, you will need to have the camera very close to that person, otherwise it will be annoying for the viewer to strain to hear what they are saying. The reality is that getting good sound will often dictate your shot. Learn some audio basics along with videography tips.
9. Don’t zoom for close-ups – In general, an image loses quality when you zoom. An image also tends to be shakier, especially on a hand-held shot, when zoomed in. So whenever possible, take your two legs and walk up to whatever it is you want a close-up of. It will look much cleaner and more professional.
10. Don’t overshoot (or then again, go ahead) – A common tendency for amateurs is to shoot anything and everything. Since they don’t know what they’re doing, they err on the side of overshooting. In general, I have found that for every hour of professional footage, I end up using about a minute in the final production. (So for ten hours of shooting, I end up with a great 10 minute video).


